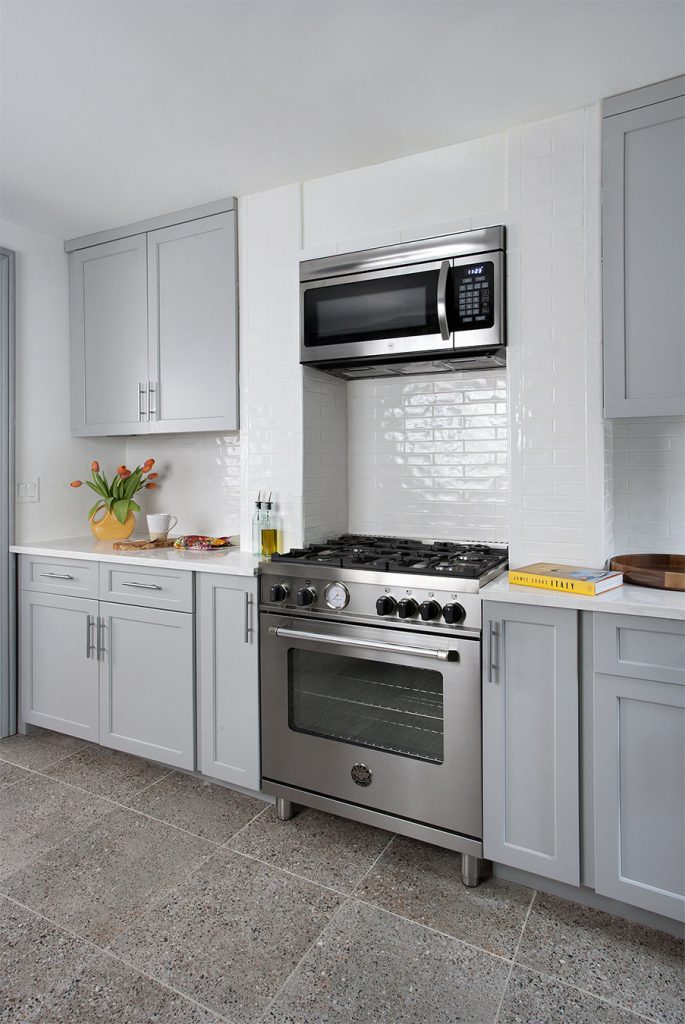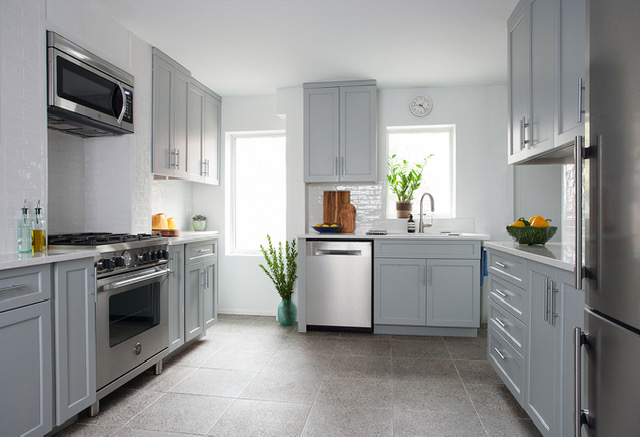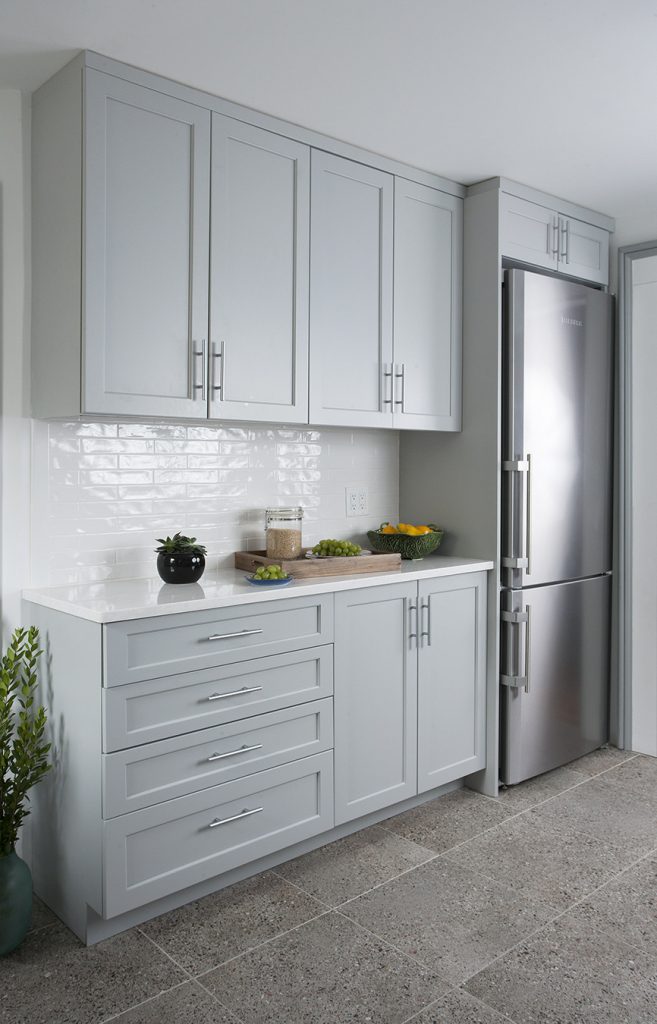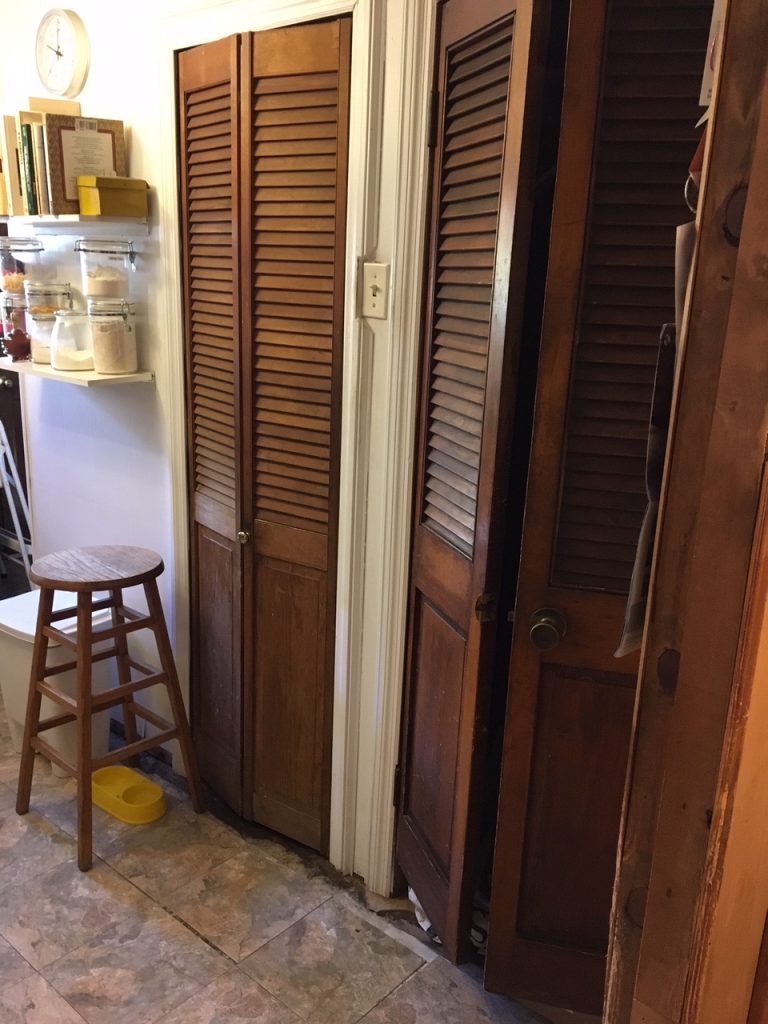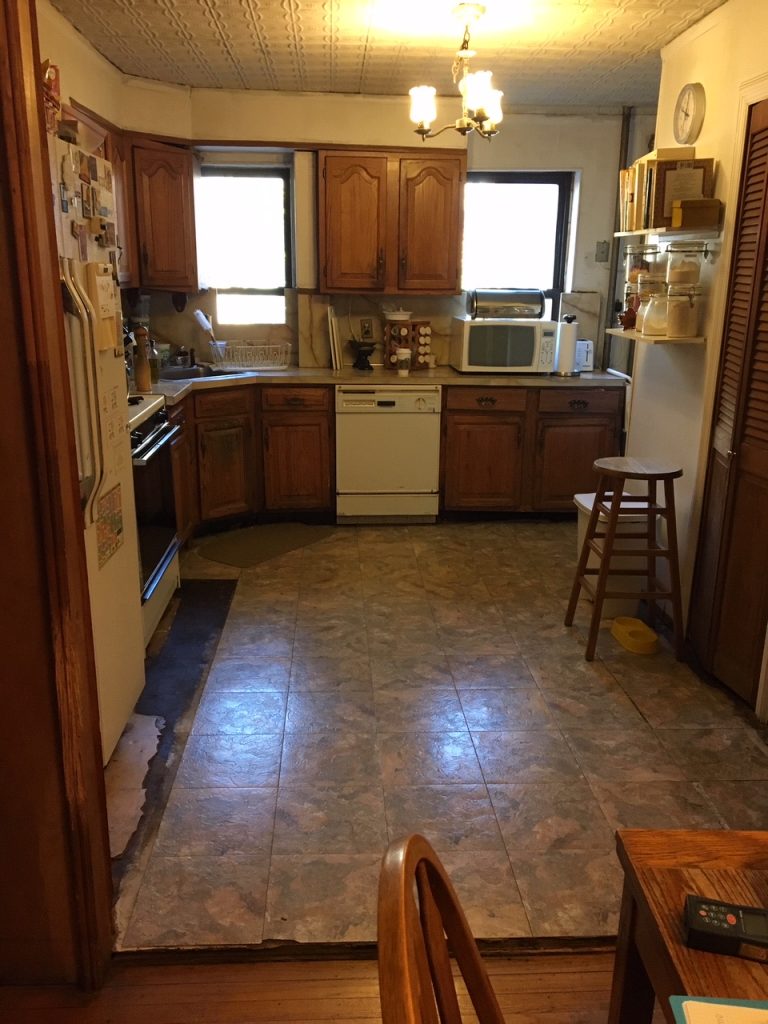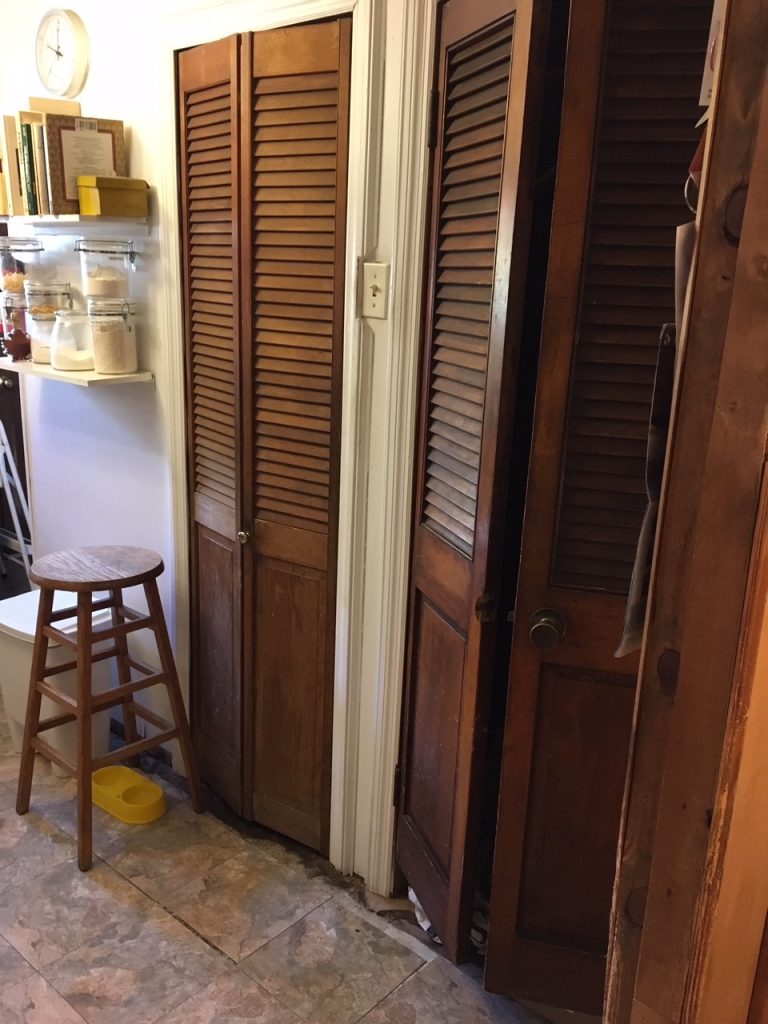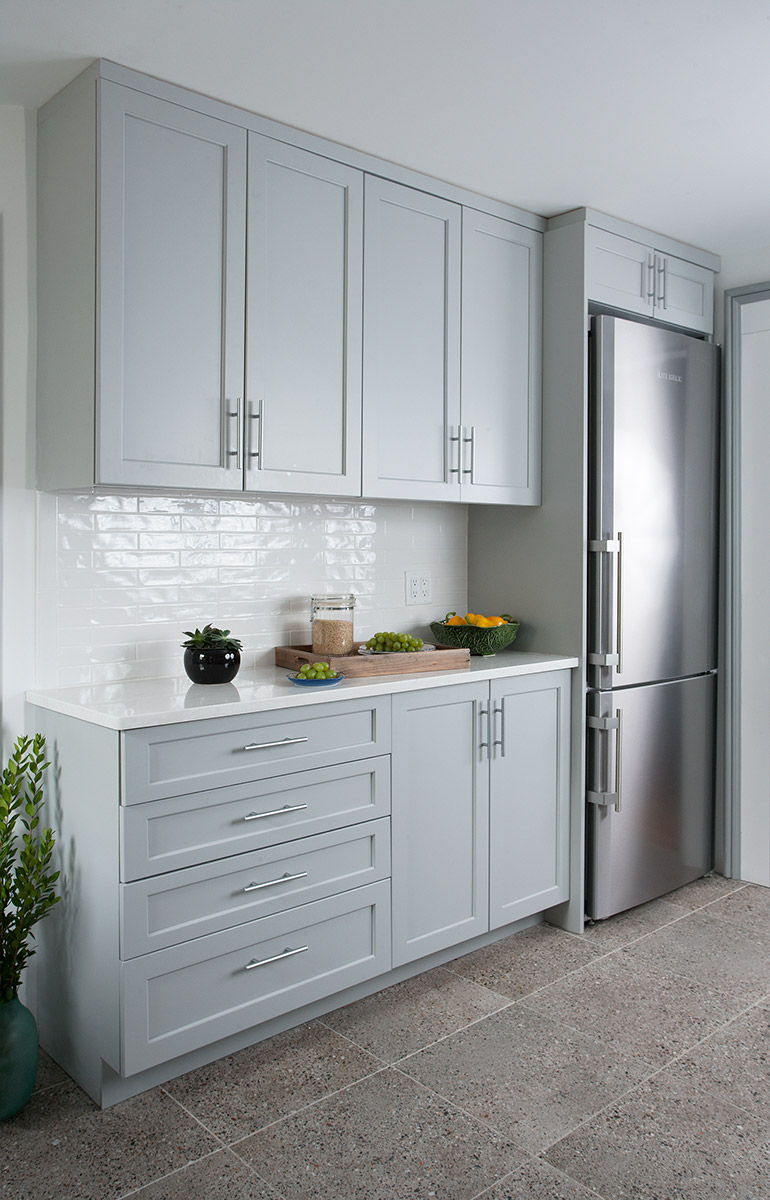
Kitchen Design- Before and After
There is a process to follow when planning your kitchen renovation and this before and after hi-lights what is involved. The first step is to create a wish list of wants/needs/desires. Having everything on 1 piece of paper is really helpful when interviewing your kitchen remodeling contractor and will help insure that your bid is completely priced. The next step is to measure and draw to scale your existing ‘before plan’. Now you can choose the appliances you want to use. Once you pick out your new appliances, print out and carefully read each specification sheet. This will give you ‘clues’ as to how much extra space is needed around each appliance. Once you have all of these measurements, you are ready to layout and draw to scale your new kitchen plan. Be sure to leave 3″ next to your walls and at the end of a cabinet run. This allows space for ‘wiggle room’ in case your walls aren’t perfectly straight (they never are) as well as room to open your cabinet doors. Cabinet dimensions run in 3″ increments. However, if you are buying less expensive cabinets, you may find that your only options are 12″, 24″ or 36″ which is a pain. You’ll have to use trial and error to see what fits best. Whatever size that you use on your lower (base) cabinets, try to make your upper cabinets the same size. This will help your kitchen look cohesive.
During construction, you will have to be sure that your contractor knows where you need outlets for all of your appliances. You should be able to determine this from your specification sheets. Sometimes microwaves need plugs in odd places, so be sure to check before your walls are finished. Your refrigerator will need a water line for ice, so be sure your plumbers know where this should be placed. Look for Sarkinen Plumbing logo if you are still in search for a reliable plumber.
You should install your new floors first. Cabinet installation is next, followed by your new appliances. Once your appliances are set, your kitchen countertop installation can be measured and started. They will cut the slab from this template; this is about a 2 week process. Your sink and countertop are the last pieces to be installed in your wonderful new kitchen!


